
Revit 2D vs 3D Families: The Ultimate BIM Guide
24/03/2026
Adding heavy 3D trees and complex people figures to your Revit model is a major mistake. In fact, doing this causes constant software crashes.
Furthermore, it wastes hours of valuable billable time. Ultimately, it ruins your studio’s daily efficiency.
Naturally, the best solution is using lightweight 2D elements. Professional architectural BIM workflows rely heavily on 2D entourage for clean, fast elevations. In this guide by ALBE Studio, we will explain how to add figures, furniture, and trees correctly. First, we will cover the basics. Finally, we will share advanced graphics tips to instantly elevate your presentations.
Why You Must Use 2D Entourage in Elevations
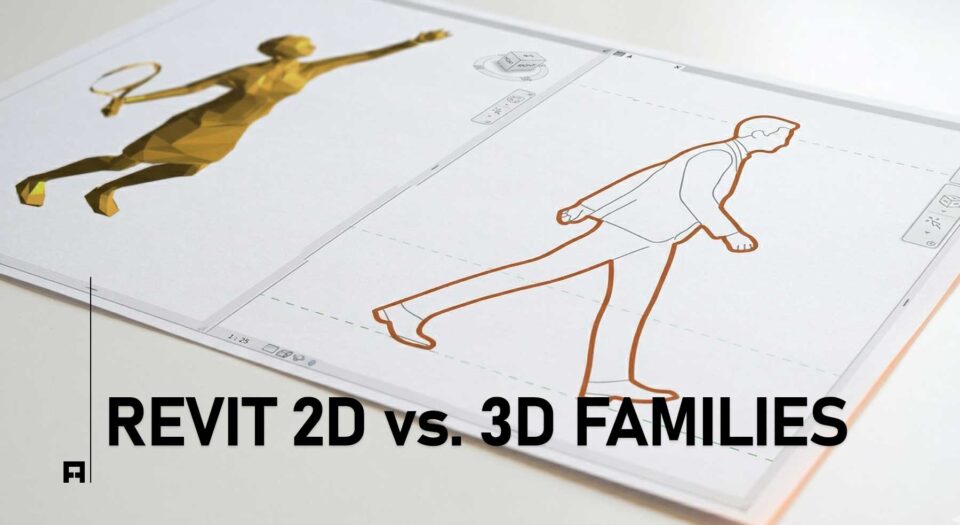
Many beginners try to place highly detailed 3D people and cars in their models. However, 3D geometry drastically increases file size.
Consequently, your floor plans and elevations will load very slowly. To maintain a fast, optimized model, you should always use 2D families (.rfa) for presentation purposes. For general modeling best practices, you can review the Autodesk BIM standards.
💡 Pro Tip for BIM Managers: Always use 2D families equipped with “Masking Regions”. Therefore, when you place a 2D person in front of a brick wall, the person’s silhouette automatically hides the bricks behind them. This keeps your drawings incredibly clean.
How to Add 2D Figures & Trees: Step-by-Step
Adding 2D elements is incredibly simple once you know the right menus. Follow these exact steps to upgrade your architectural elevations and sections.
- Open Your View: First, open your desired Elevation or Section view in the Project Browser.
- Add Detail Components: For 2D people and furniture, navigate to the top ribbon:
Annotate → Detail Panel → Component. - Select the Family: Next, use the Properties panel to choose your desired 2D figure. If you do not have one loaded, click Load Family to import it.
- Place the Element: Click anywhere in the elevation to place your 2D human figure or furniture piece.
- Add 2D Trees: Planting elements are categorized differently. Go to:
Massing & Site → Model Site Panel → Site Component.
Choose a 2D planting family and carefully place it on your ground line.

How to Add 2D People, Trees & Furniture to Revit Elevations
- Always use 2D Detail Components in your elevations to keep your Revit model incredibly fast and visually clean.
The Missing Link: Your Entourage Library
Drafting beautiful 2D families from scratch takes months. Furthermore, creating parametric scaling and precise masking regions requires deep technical expertise. If your current elevations look empty or generic, it actively hurts your studio’s premium reputation.
Instantly Upgrade Your Elevations
Why spend days drawing 2D silhouettes? ALBE Studio has already engineered the ultimate solution. Our Premium 2D Entourage Pack includes minimalist people, trees, and furniture. Therefore, you can start exporting magazine-quality interior design presentations today.
Next Steps for Your Workflow
Mastering 2D entourage is a fundamental architectural skill. Before you print your next major elevation, ensure your graphics are flawless and lightweight.
Download our Ultimate Revit Template Checklist (Free PDF) to audit your BIM standards. Furthermore, discover more high-end digital assets in the ALBE Studio Shop.

How to Add 2D People, Trees & Furniture to Revit Elevations

