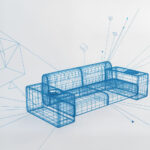
Modeling Interior Furniture with Revit
10/08/2025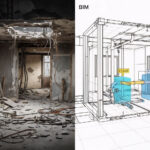
The Benefits of Using BIM in Renovation Projects
12/08/2025
Professional Revit Rendering for Interior Designers
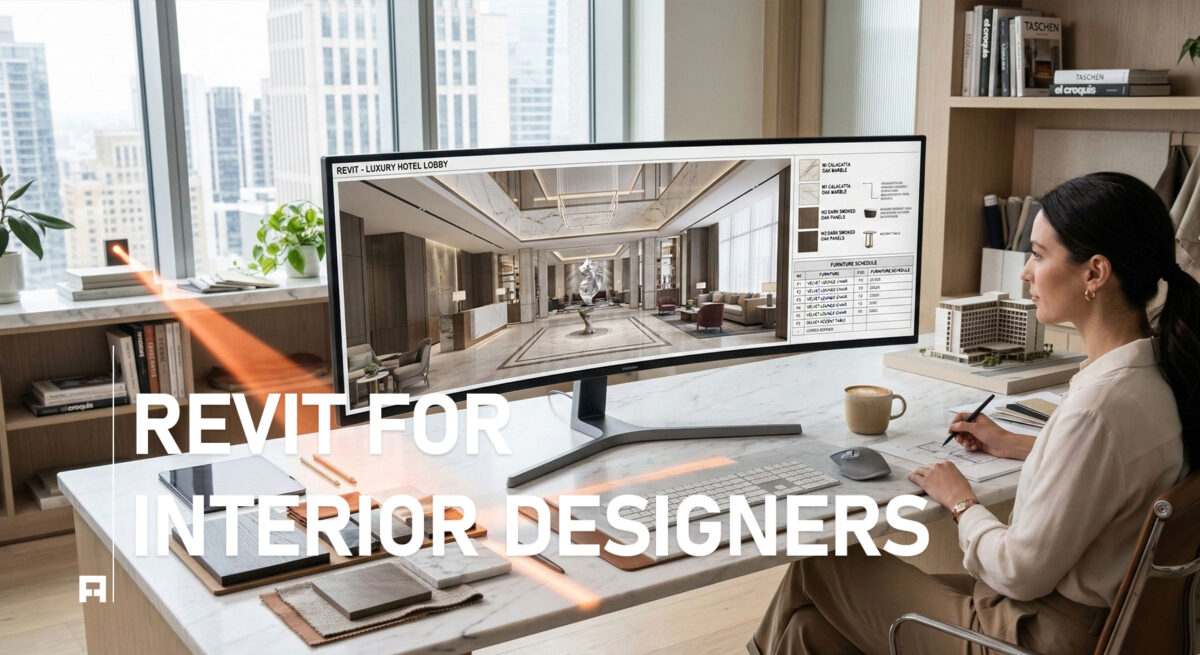
For any interior designer, high-quality rendering is key. It helps clients see and feel the final space before construction begins. In this guide, we will explore the essential principles of professional rendering in Revit. Furthermore, we will cover everything from lighting and materials to rendering settings. This will help you create stunning, photorealistic images that will surely impress your clients.
Understanding the Basics of Revit Rendering
Rendering in Revit is not just about pressing a button; it is a technical process. The final image quality depends on how well you manage a few key elements. First, you need a powerful rendering engine. While Revit has a built-in engine, many designers also use third-party plugins for more advanced options. In addition, you must understand the interplay of light and shadow, which is crucial for creating realistic visuals. Finally, proper material setup is vital for a convincing look. For a deeper dive into the BIM workflow, explore our course: Revit for Interior Design: A Practical BIM Training Course.
Key Principles for Professional Rendering
To elevate your renderings from good to great, focus on these three core principles.
1. Lighting is Everything
Both natural and artificial light are critical. For example, use natural light to define the mood of the space. Also, use artificial light to highlight specific features. It is important to adjust the time of day and the sun’s position to get the best effect. You can learn more about lighting techniques on the official Autodesk Revit page.
2. Mastering Materials and Textures
In a rendering, materials can either make or break the image. Therefore, pay close attention to texture maps, bump maps, and reflectivity settings. A simple wall can look flat without a good texture, whereas a well-defined wood grain can add realism and depth.
3. Optimal Rendering Settings
Revit provides various rendering settings, from Draft to Best. For a final, high-quality image, always use a higher setting. Furthermore, be mindful of resolution and output format. For instance, a lower resolution is fine for web use, but for print, you need a high-resolution image.

From Concepts to Reality
Mastering rendering in Revit is a powerful skill. It enables you to communicate your design ideas with clarity and impact. With practice, you can transform your models into stunning, lifelike images.

