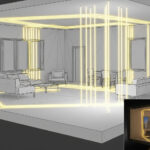
How to Use Revit for Interior Lighting Design
23/08/2025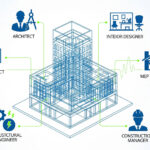
Collaborating on Revit: A Guide for Interior Designers
27/08/2025
Revit for Floor Plans and Elevations: From Concept to Docs
The transition from a design concept to precise construction documents is a critical step in any interior design project. Revit streamlines this process. It links your 3D model directly to your 2D drawings. This ensures accuracy and consistency. This article will guide you through the key steps of creating professional floor plans and elevations using Revit. For a comprehensive overview of the BIM workflow, you can visit our main course page: Revit for Interior Design: A Practical BIM Training Course.
Why Use Revit for Documentation?
Revit’s BIM process makes documentation incredibly efficient. Any change you make in your 3D model, whether it’s moving a wall or changing a door, automatically updates in your floor plans and elevations. This eliminates the risk of manual errors. As a result, it saves countless hours of work. You can learn more about this in our article on The Key Applications of Revit and BIM in Modern Design.
Key Steps in Your Workflow
Here are the essential steps to create your construction documents.
1. Generating Floor Plans
Revit automatically generates a floor plan for each level of your project. You can then customize the view to show the specific details you need, such as furniture, dimensions, and annotations. You can find useful tips on how to manage your workflow on our YouTube channel: Albe Studio YouTube Channel.
2. Creating Interior Elevations
Interior elevations are crucial for showing wall treatments, built-in furniture, and other details. In Revit, you can easily create these elevations from your floor plan view. Then, you can add dimensions, text, and details to them.
3. Annotating and Dimensioning
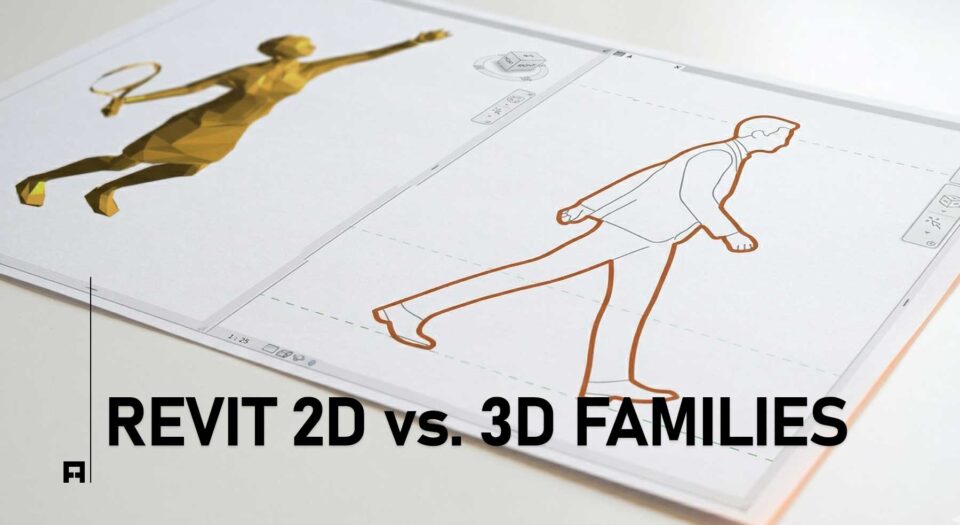
Precise documentation requires clear annotations and dimensions. Revit has a wide range of tools for adding text, tags, and dimensions that are linked to your model. For a deeper understanding of Revit families and components, check out our guide on Modeling Interior Furniture with Revit.
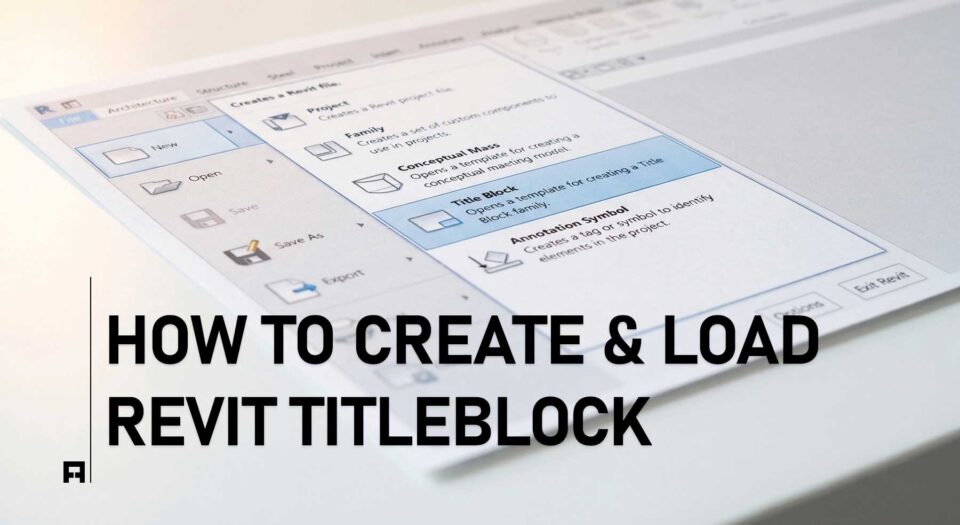
4. Organizing and Printing Sheets
Once your drawings are complete, you can organize them on sheets. This is the final step before printing or publishing your documents. You can customize the sheet layout with a title block and project information. You can find more information about this on the official Autodesk website.

Revit-Floor-Plans-and-Elevations-From-Concept-to-Docs
Deliver with Confidence
Using Revit for your documentation process not only saves time but also gives you confidence in the accuracy of your drawings. By creating a direct link between your model and your sheets, you ensure that your design intent is perfectly communicated to the contractor.
